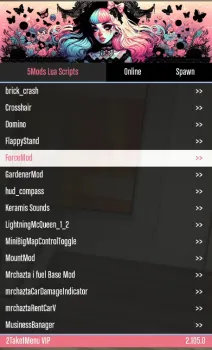
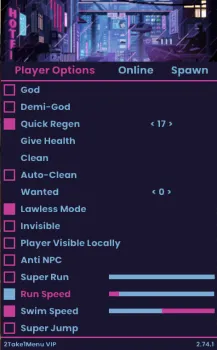
2Take1 Custom Menu Header
As of version 2.60.0, 2Take1 allows you to change the header picture of the menu UI.
How to Create a Sprite(Header)
Step 1. Design
The first step is the design of a nice looking 2take1 custom menu header. You may use several tools, such as Photoshop, GIMP, Illustrator or Inkscape. You can also work on an existing PNG/JPG image by importing it.
*Customers of our store have access to pre-made headers in our discord server. Join our discord server to gain access to those headers.
Only the following file formats are supported:
DDS (recommended)
PNG
JPG
TIFF
BMP
GIF
*The recommended resolution is 480 x 96 (5:1 aspect ratio).
Example Styles
If you are a customer of ours, you can find these styles and more on our discord server. Join the server and verify yourself with your order id for the customer role.
Step 2. Convert
Once you finish designing your 2take1 custom menu header, you must convert it to a DDS sprite using one of the suggested tools:
NVTT (STANDALONE APP)
1. Download and install the Standalone Application of NVIDIA Texture Tools, then run it.
2. Click on Open at the bottom left corner and import your picture.
3. Click on Save As, and then save it with its corresponding name wherever you want.
Download link: https://developer.nvidia.com/nvidia-texture-tools-exporter
NVTT (PHOTOSHOP PLUGIN)
1. Download and install the Photoshop Plugin of NVIDIA Texture Tools.
2. Open your picture in Photoshop, if it wasn’t already open.
3. Click on File → Save As, and then save it with its corresponding name wherever you want.
Download link: https://developer.nvidia.com/nvidia-texture-tools-exporter
*You will have to register to the NVIDIA Developers Program in order to download this
GIMP DDS
1. Download the GIMP plugin and extract the dds.exe file.
2. Create a folder named dds in the following directory and copy the extracted EXE in it: -C:\Program Files\GIMP 2\lib\gimp\2.0\plug-ins
3.Open your picture in GIMP, if it was not already open. 4.Click on File → Export As, and then save it with its corresponding name wherever you want.
Download link: https://code.google.com/archive/p/gimp-dds/
Step 3. Upload
Copy the headers into the following directory.
%appdata%\PopstarDevs\2Take1Menu\ui\headers
After that, you will be able to use the new headers in Local Tab → Settings → Menu UI → Header
In conclusion we hope that this guide was useful. You can use those three easy steps to have your own style on your 2take1 menu. Add a bit of flare to your experience with 2take1, show it off to your friends and share your designs with the community. Alternatively you can find pre-made designs on our community discord server and enjoy some of our creative designs our community has to offer.
Additional Information
In order to know how to get the menu setup and running, have a look at our user-manual.
If you require help troubleshooting common issues, have a look at our troubleshooting guide.